Understanding Hanami Hierarchy
Hanami structures its data in 3 layers:
- Workspaces are used for high-level distinctions. Different workspaces can be created for different user roles, ontologies, data sources, projects...
- Collections are used to group items of interest semantically. One could create a collection for every type, but more complex distinctions are possible as well.
- Items are semantic groupings of triples concerning a common URI. A form can be rendered that allows you to edit all triples that are contained within the item. Deciding which triples go in an item impacts the form that will be presented to edit the data.
- Nodes TODO
Every collection has one or more root types. The items in that collection will all have at least one of these root types as type.
The form to edit an item is generated based on shacl data that is associated with the collection the item belongs to. The SHACL data describes which triples should be incorporated in items of a certain collection.
Seeing the hierarchy in the UI
When landing on the home page of Hanami, you will see the list of workspaces your user has access too. Those are the top most containers.

fig 1: workspaces list
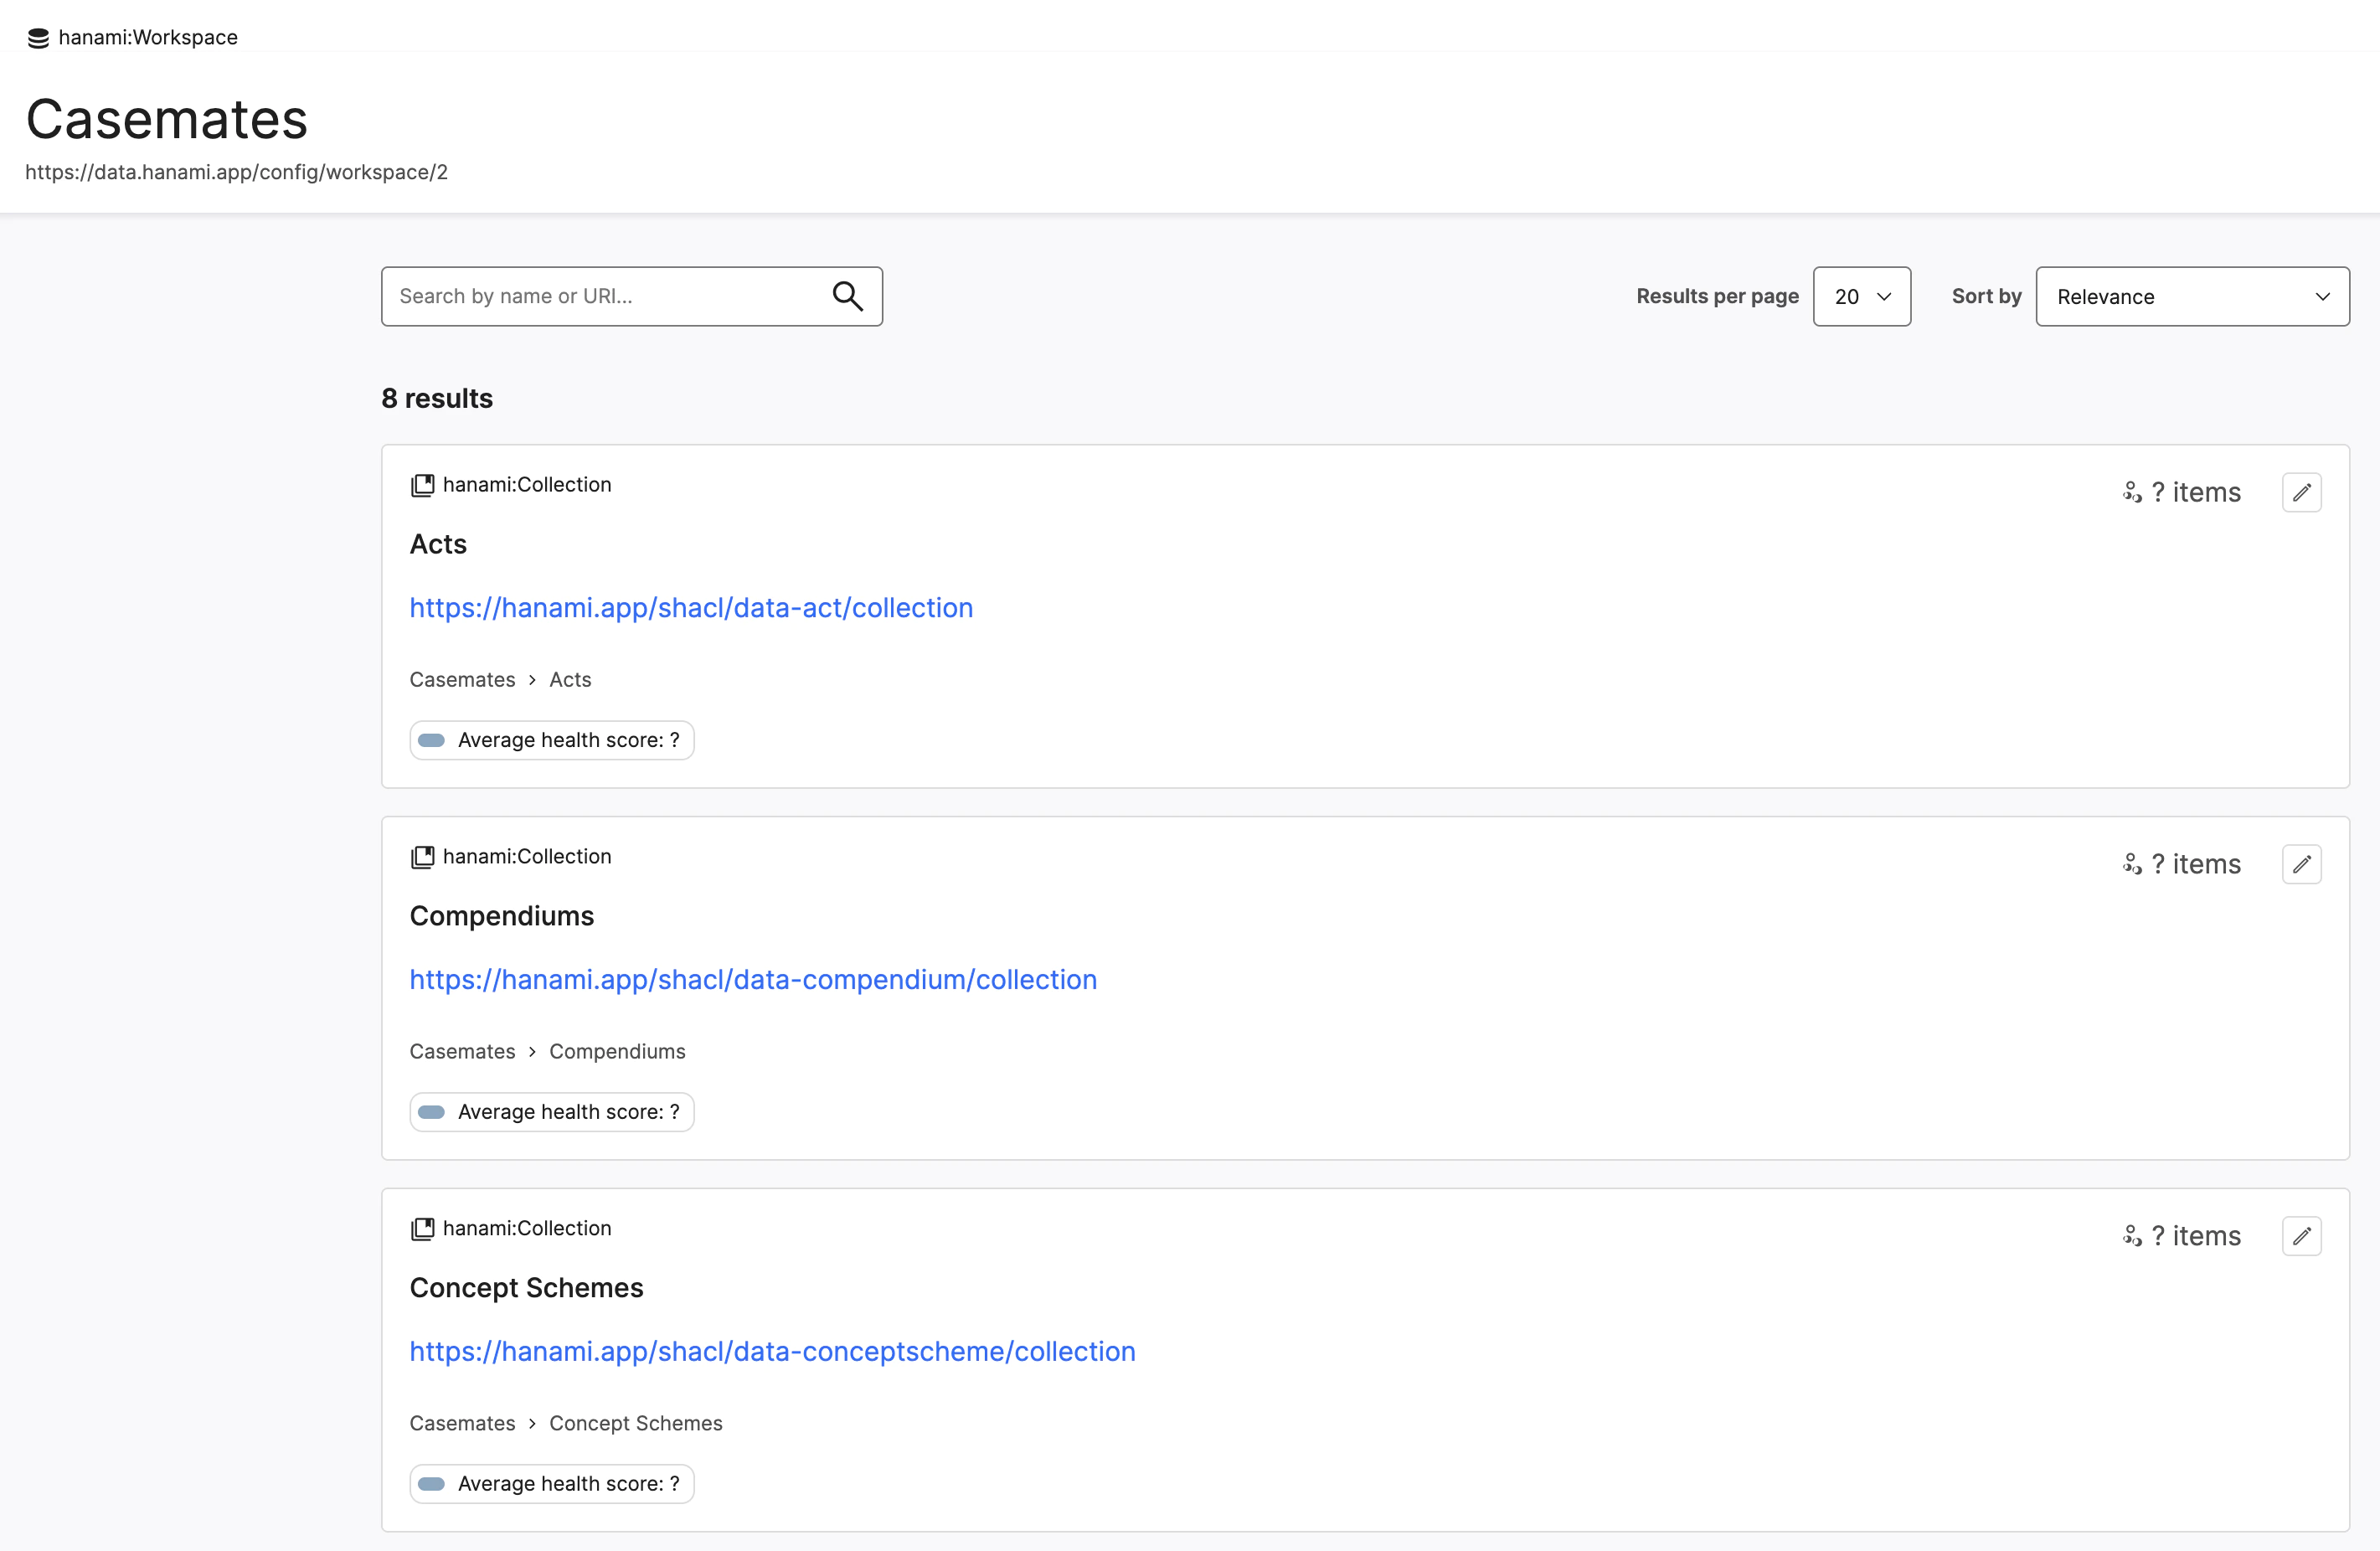
When clicking on the label of one of those, you'll go one level deeper, and would see the list of all collections within that workspace.

fig 2: collections list
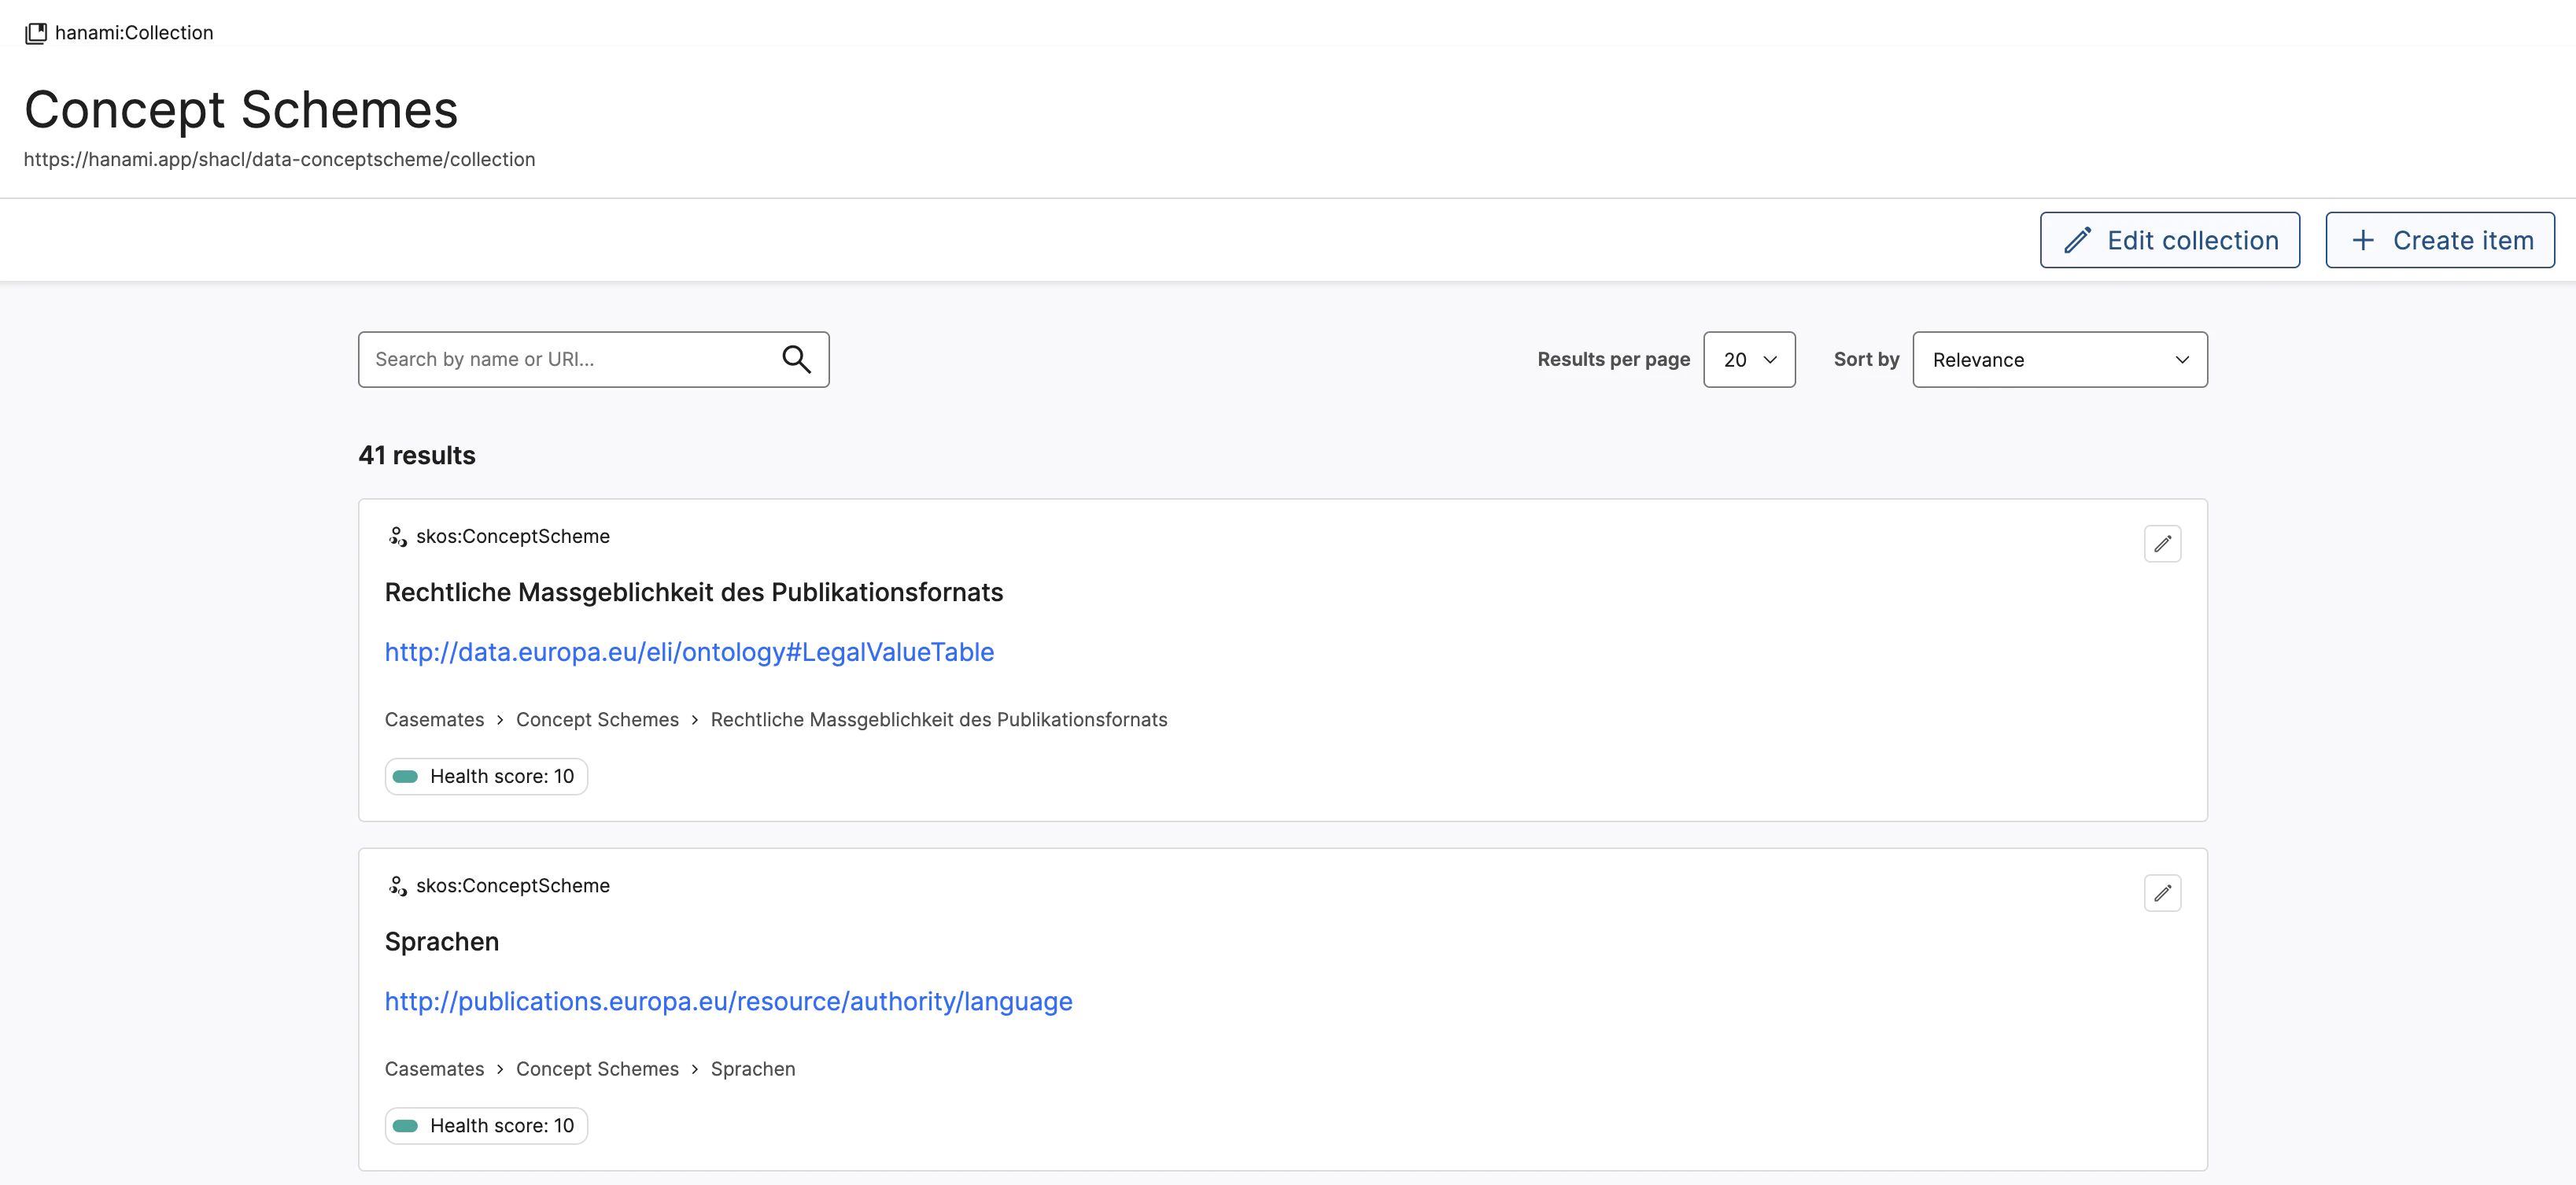
Following a similar logic, clicking on the uri of one those collections would bring on the list of items contained in that collection.

fig 3: items list
Finally, clicking on either the uri or the edit button on one of the items will navigate you to the last layer: the form of the item itself.